21st Nov: Jetty repairs!
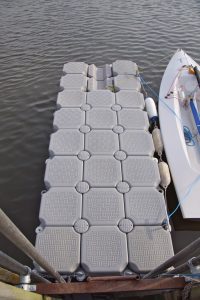
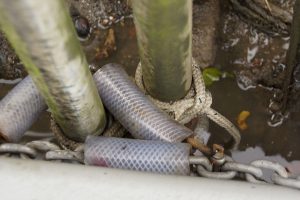
![]() While having breakfast on the jetty staging this morning I noticed that the pontoon was floating at an odd angle to the jetty. The pontoon is attached at the end of the jetty using chains in plastic tubing which can slide up and down two vertical scaffolding tubes. The latter are attached at top and bottom to two more vertical scaffolding tubes which are themselves attached to the jetty at places where it was possible to connect to the metal work.
While having breakfast on the jetty staging this morning I noticed that the pontoon was floating at an odd angle to the jetty. The pontoon is attached at the end of the jetty using chains in plastic tubing which can slide up and down two vertical scaffolding tubes. The latter are attached at top and bottom to two more vertical scaffolding tubes which are themselves attached to the jetty at places where it was possible to connect to the metal work.
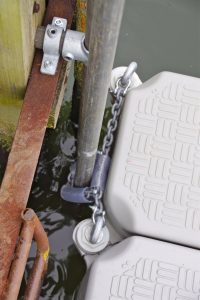
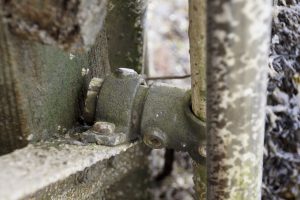
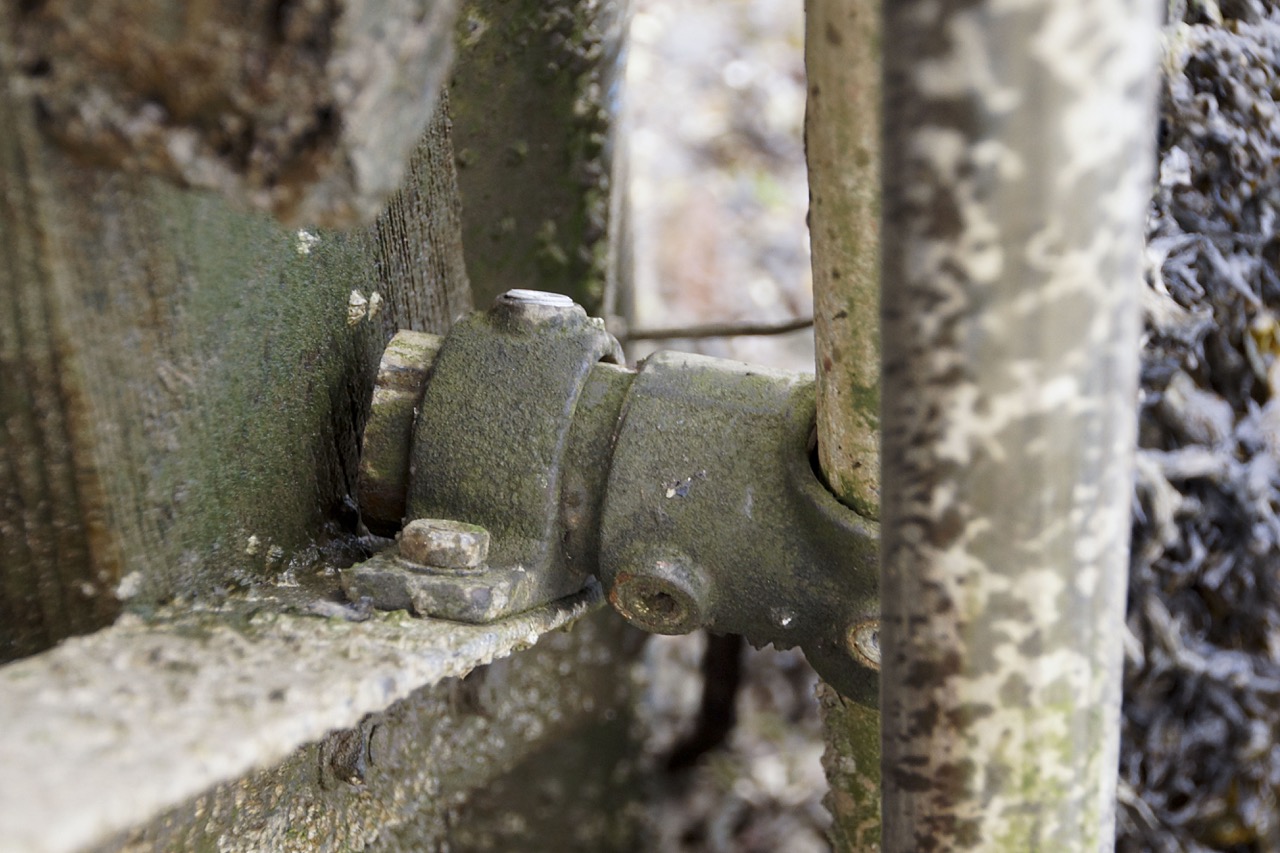
Some time ago the lower attachement to the jetty for the tube furthest from Seatern had come adrift and I’d re-secured it by lashing. Now inspection showed that the vertical tube that the jetty slides up and down was adrift at the bottom end. Presumably this had happened in the early hours of yesterday when a strong easterly was blowing. With the tide going out, I tied the pipes together above the level of the pontoon so that they would be roughly in position once the pontoon was on the mud. I decided I needed to remake the connection which I had previously lashed. Trying to undo the thumbscrew I broke an 8mm socket but finally a lump hammer against the allen key got it turning and some further hammering got it all aligned again so I could reconnect the tube to the jetty (top photo).
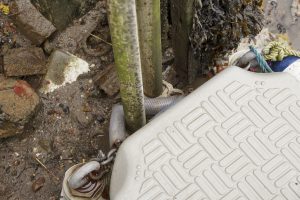
Digging at the base of the tubes I could’t find the horizontal connecting pipe which was supposed to anchor the two sides together under the mud. Very strange! What’s more I was now surprised to find that the tide was fast coming in – about 3 hours early! I realising that another tidal surge could be adding to the half tide stand I decided to put a collar low down on the “sliding” tube and lash it across to the fixed tube as a temporary measure. I managed to do this as the pontoon started to float. However once I’d cleaned the mud off the tools and cleared them away, I noticed the pontoon was back on the mud! It must have been a short lived surge! At some point I need to properly connect the tubes where I’ve lashed them – however the lashing should last the winter if need be.
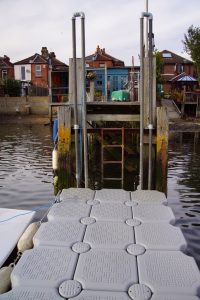
The first 3 photos show what the pontoon anchorage looked like when first installed. The last 3 show the temporary lashing I’ve now put in place and the joint which had to be remade.